July 10, 2020
Deploy Gatsby with Typescript to Netlify
It's easy to deploy Gatsby with Typescript to Netlify. You just need to follow the steps below:
Getting gatsby cli and starter kid
npm install -g gatsby-cliGetting starter kit
gatsby new your-project-name https://github.com/gperl27/Gatsby-Starter-Blog-TypescriptIf you encounter "Command failed with exit code 1: yarnpkg" error, you should downgrade your node version for now. You can upgrade node version later, don't worry. In my case, node version 10.21.0 worked. Then, please retry to get starter kid.
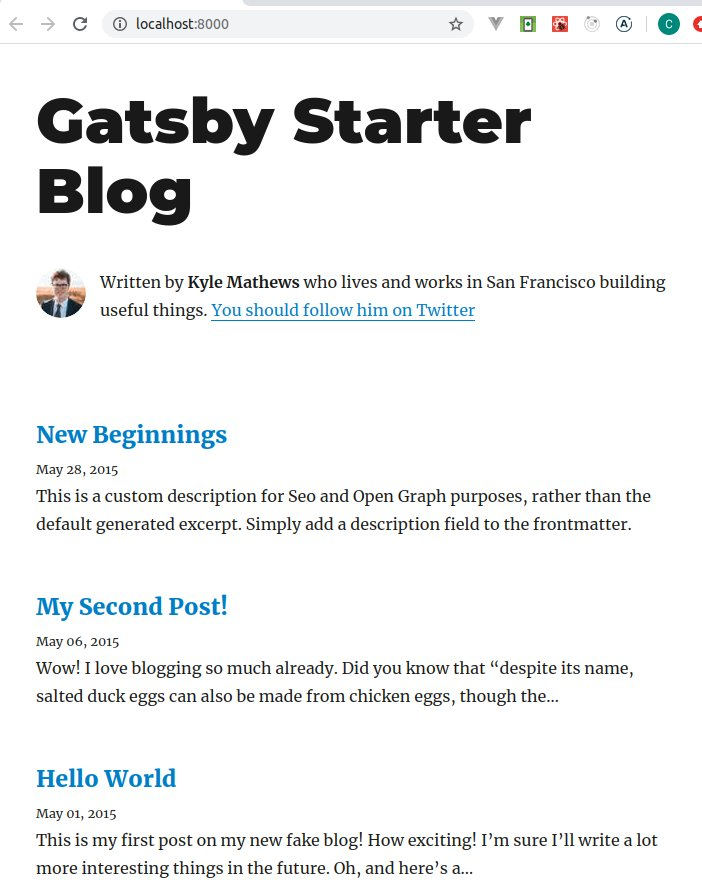
Let's check it out.
cd your-project-name
gatsby develop
If you downgraded node version to 10.x and want to use node version over 12.x, you can upgrade node version to 12.x, then:
rm -rf node_modules yarn.lock
yarn install
gatsby develop
Creating your repository on Github, Gitlab or Bitbucket
You can use Github, Gitlab or Bitbucket to manage and deploy your blog. It's free to use. You need to create your account on one of them first.
This time, I'm using Github here.
Creating a repository
You need to create repository for your project. If you don't know how to do it, please see Creating a new repository.
Pushing your source code to the repository
In your project directory,
git init
git add .
git commit -m "Initial commit"
git remote add origin https://github.com/yourname/your-blog-name.git
git push -u origin masterCreating your Netlify account and deploying to it
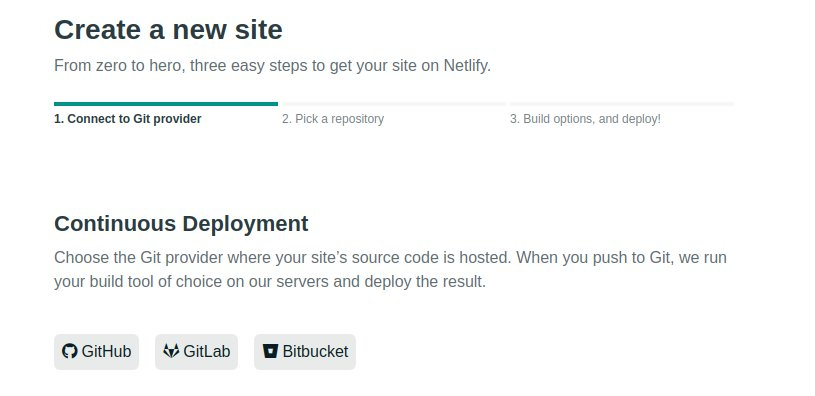
You can create your Netlify account here. Then, click "New site from Git button".
I am going to deploy from Github, so I should select Github. But if you are using Gitlab and Bitbucket, you should select them.
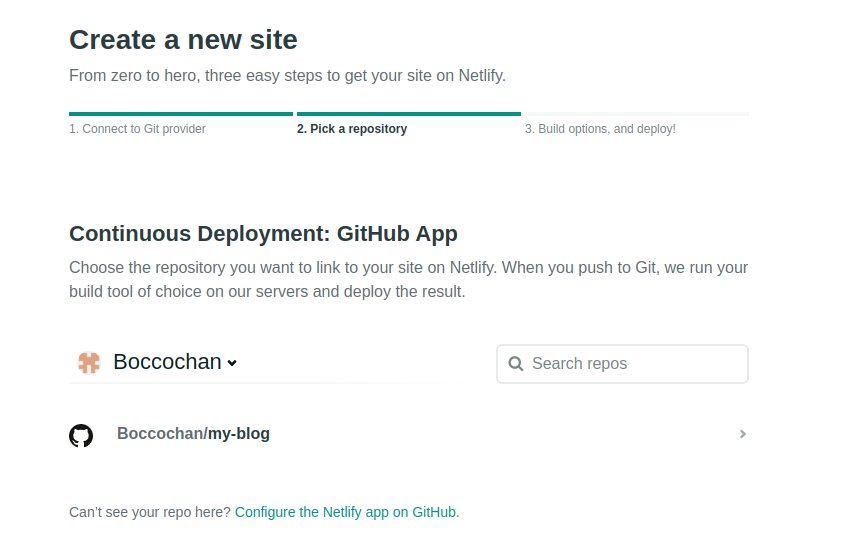
Select your repository which you have created.
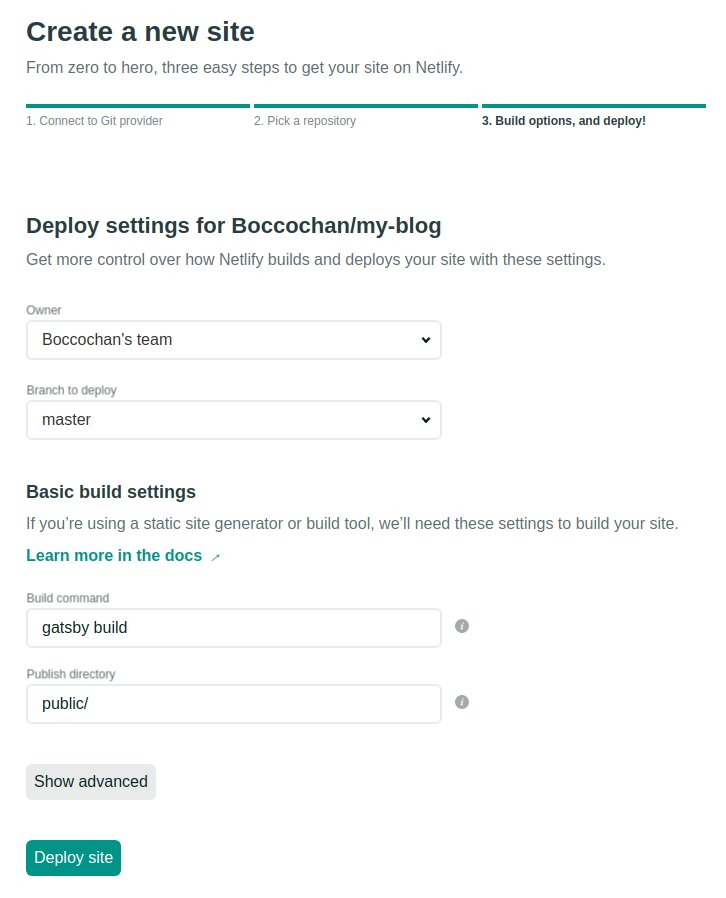
Click deploy site.
Now, you can see your blog site.
Uploading your blog
There are already a couple of sample blogs under content/blog. You can add a new blog there. But be careful, you should not delete those sample blogs yet. Probably, it will cause some errors.
I'm going to figure it out.
Using custom domain
If you want to use your cool URL, you can use it. I am going to explain how to do it by the other blog post. Coming soon!
Written by Yasuhiro Ito
Software engineer


